XWAN - Quick Start Guide
Follow the steps below to set up the new XWAN Gateway Zigbee/LoRaWAN. It is recommended to start with the indoor model before installing the outdoor kits.
1. Connect and power up
Requirements for the initial setup:
Power supply 18-24V DC, 1A max.
Ethernet LAN cable with an internet connection.
Mobile SIM card (if using built-in 3G/LTE modem to access the internet).
Set of antennas (included in the package).
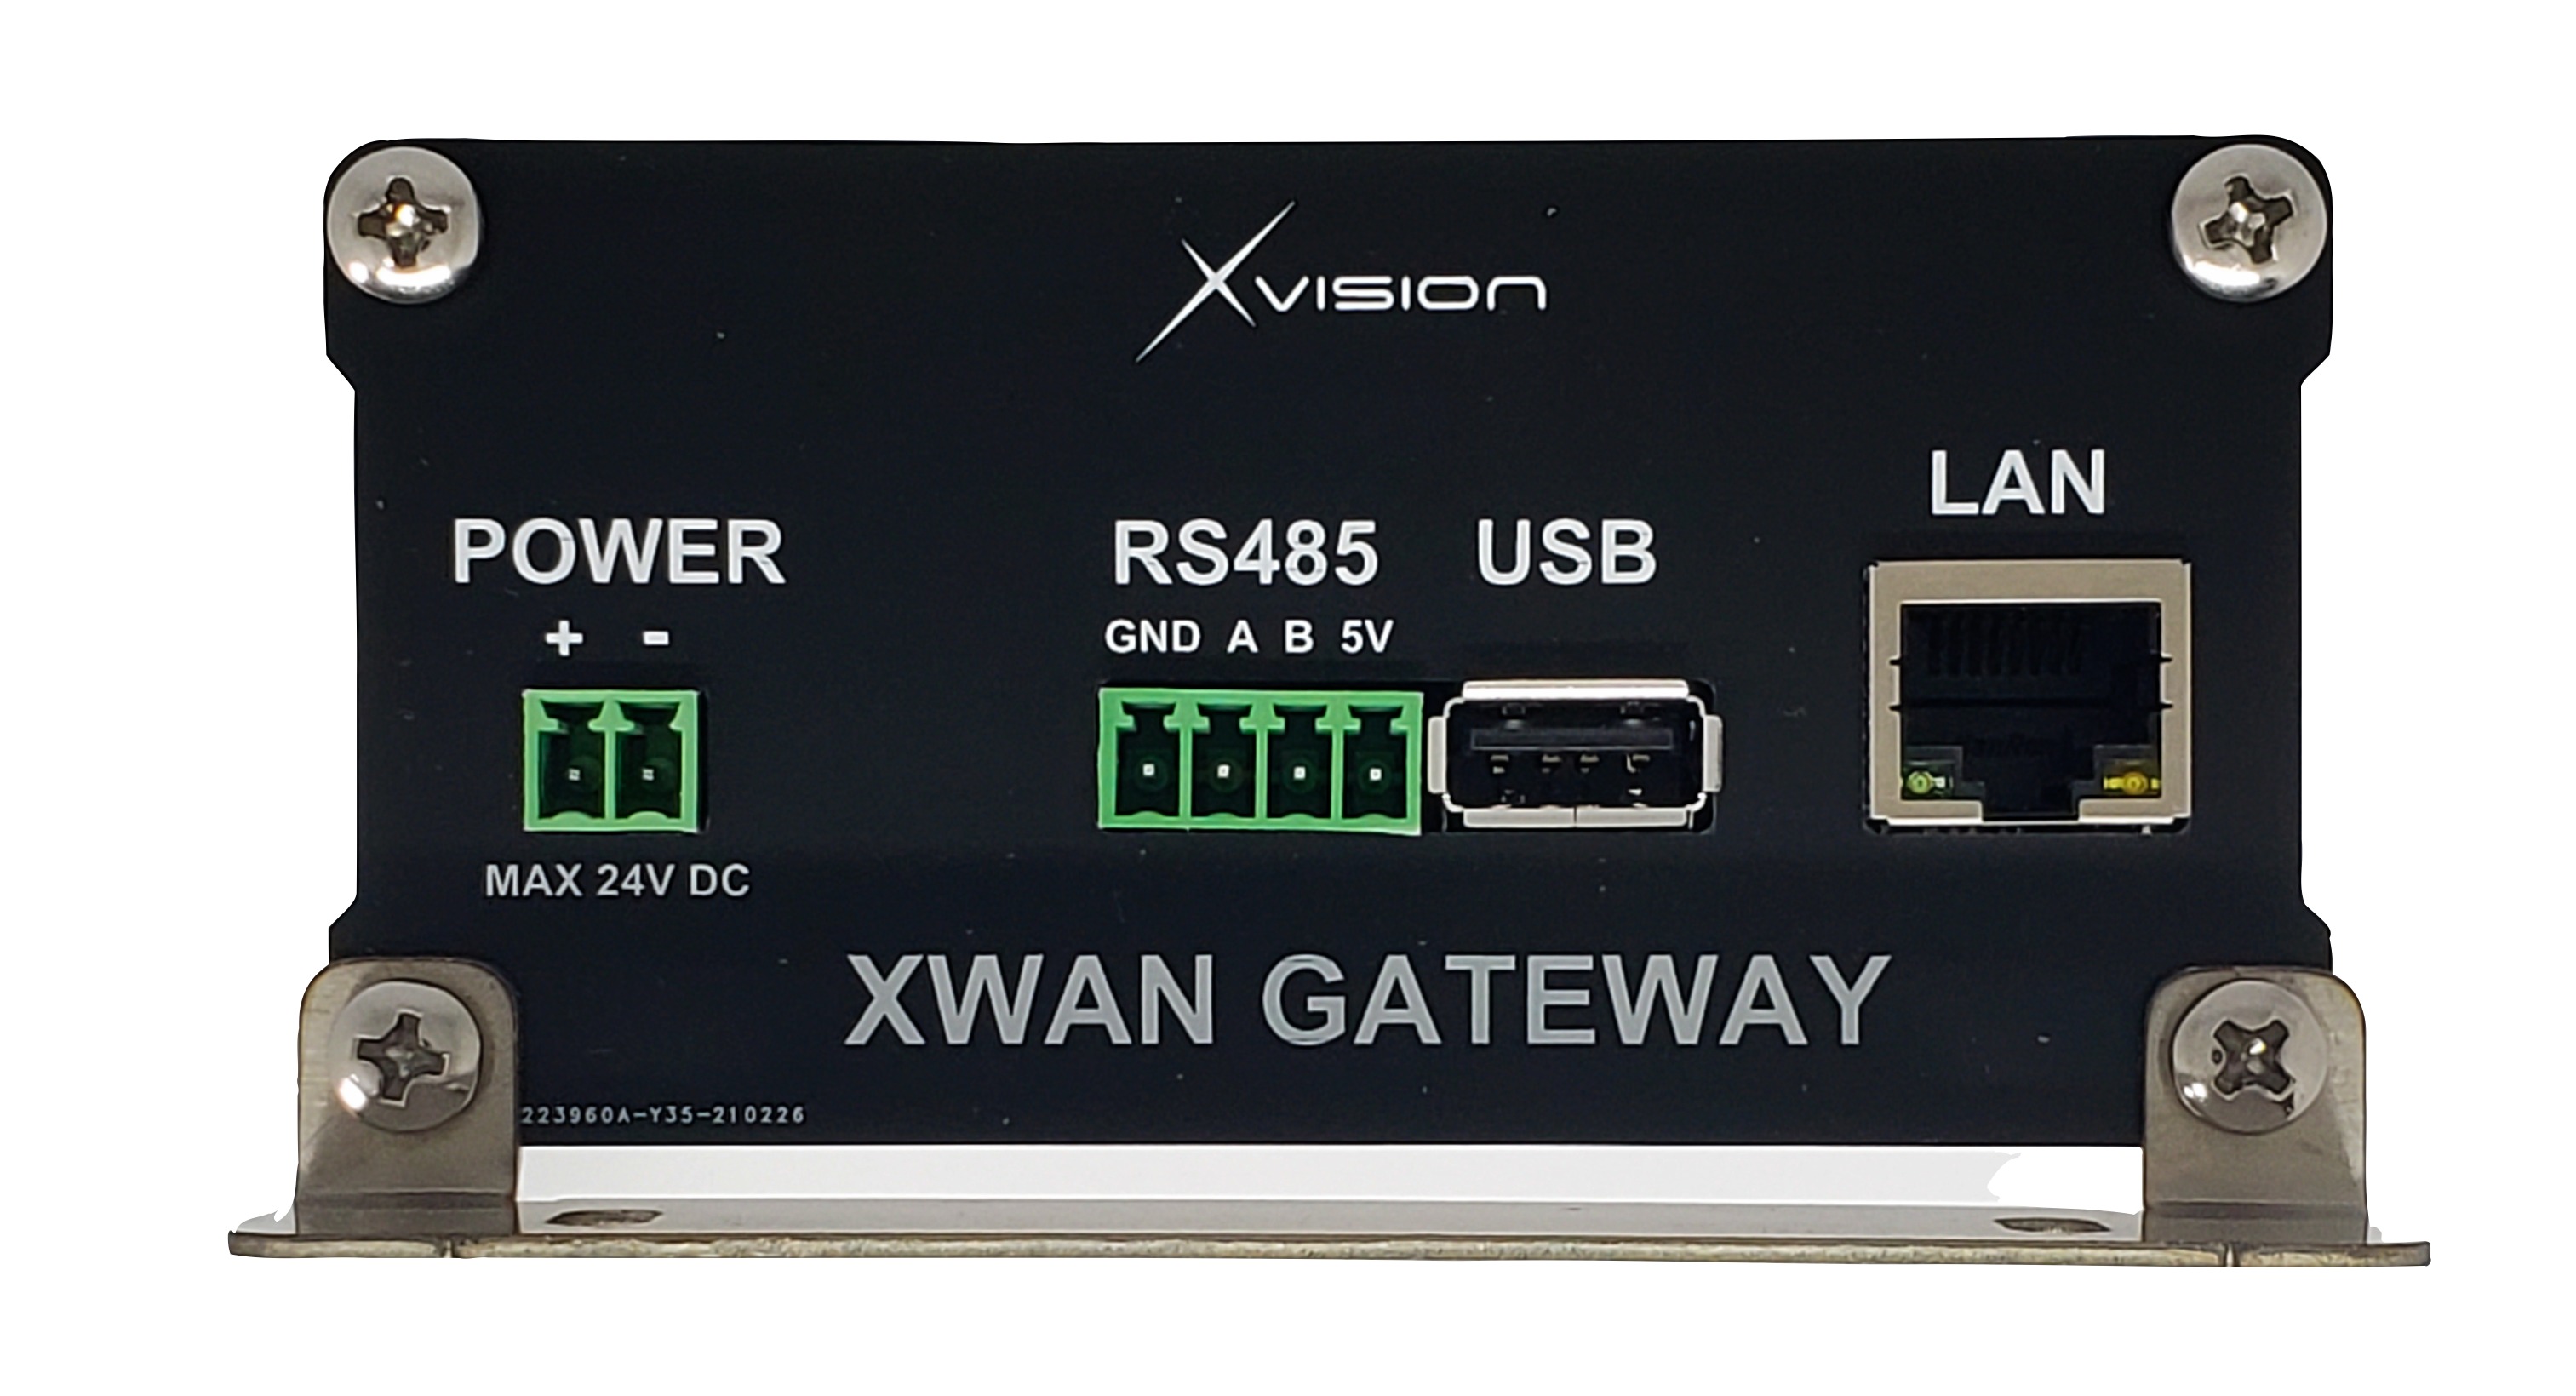
First, connect the LAN cable and insert SIM (if available) to the sockets on the sides of the device.
Install the required antennas (Zigbee/LoRaWAN/WiFi/4G) to the unit.
Then apply the DC power to the terminal according to the label as shown to power up the gateway.
The backup battery is not required for the normal operating condition. However, it is recommended to install to prevent power disruption and network outage.
Only install a compatible rechargeable 3.7V Lithium Ion or LiFePO4 18650 battery with the correct terminals as shown in the battery holder.
A general 18650 2500mAh 3.7V Li-Ion battery can provide backup power for up to 10 hours.
This battery can be recharged with a 12V solar panel. The charging module is based on MPPT (Maximum Power Point Tracking) with a pre-set voltage of 17.5V.
2. Check the LED status
Once power-up, the status LED of the device indicates the operating status of the device, as shown below:
Status | LED |
|---|---|
Running but not connected to the cloud | Blinking RED 1Hz ● ● ● |
Running and connected to the cloud | Blinking GREEN 1Hz ● ● ● |
If a reset is required, while the unit is running, press and hold the RESET button for at least 5 seconds (the LED will turn solid RED) until the LED is turned off. The device is now rebooting and the button can be released.
3. Finish
The gateway should be running normally and exchanging data between connected devices and the cloud services. Users can check the status and control the devices from the cloud dashboard to confirm.
4. Monitor and troubleshooting network
The XBee network can be configured and monitored by using a software XCTU from Digi, download the newest version from: https://www.digi.com/products/embedded-systems/digi-xbee/digi-xbee-tools/xctu
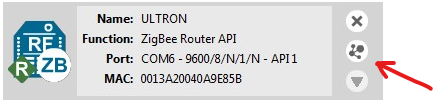
After installation, open the program to start connecting to the existing network using a provided USB XBee adapter, with a pre-configured XBee module.
Connect the USB XBee adapter to the computer, note the COM port, then add this XBee module to the workspace, leave Baudrate and other settings as default:

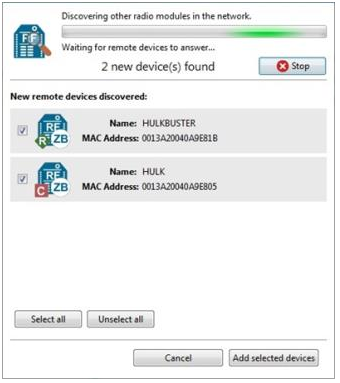
Once finished, this USB XBee module will be added to the workspace. Click the “Network” icon to discover all the connected devices within the network (including the gateway).
The connected devices will be displayed as shown:
For more information, refer to the XCTU User Guide here: https://www.digi.com/resources/documentation/digidocs/90001458-13/default.htm